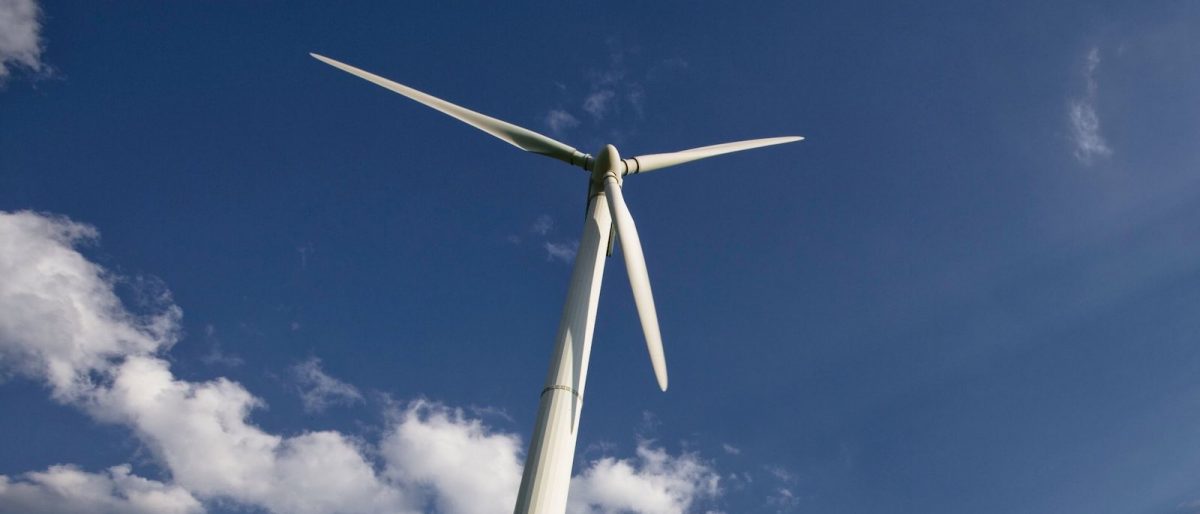
Build a Wind Turbine Infographic
Assemble a generic wind turbine from seventeen components. Then set the wind speed and watch it generate. No app to install. It runs in your browser.
Loading wind turbine game…
- 17Components
- 3Build stages
- 3 MWRated output
- ~9,000Homes powered
Getting started takes seconds
Here is all you need to know.
- Find the next component. The next part to fit is highlighted in the tray beside the turbine, and a dashed outline shows where it belongs.
- Place it. On a computer, drag the highlighted card onto the outline. On a phone or tablet, tap the card to pick it up, then tap the highlighted area to drop it in. Both methods work on either device, so use whichever feels easier.
- Keep going, stage by stage. Parts must go in the real assembly order: the foundation first, then the tower, the machinery inside the nacelle, and finally the rotor and blades.
- Finish, then explore. Place all seventeen parts and the turbine comes to life. Click or tap any part to open a panel explaining what it does, its typical specifications, and the physics behind it.
Going full screen
The turbine is tall and the landscape is wide, so the game is far more enjoyable filling the screen, particularly on a phone.
To enter full screen
Press the full screen button in the toolbar at the top of the game. It shows four arrows pointing outwards: Full screen The game expands to fill your display, hiding everything else for an app-like view.
To leave full screen
Press the same button again. It now shows four arrows pointing inwards: Exit On a computer you can also press Esc. Your progress is kept either way.
On an iPhone: the game fills the browser window rather than taking over the entire screen, because iOS reserves true full screen for video. Everything else works exactly the same. Press the button again to return, and turning the phone sideways gives you a noticeably better view.
The three stages of construction
A real turbine goes up in a strict order, and so does this one. The internal machinery is installed before the nacelle cover seals it in, and the blades go on last, exactly as they do on site.
- Concrete foundation. A buried pad, often several hundred tonnes, resisting the enormous overturning force of wind on the rotor.
- Tower base, mid and top sections. Three tapered steel cylinders bolted into a tower that lifts the rotor into faster, steadier wind.
- Yaw bearing. The turntable that keeps the rotor facing into the wind.
- Nacelle frame. The steel chassis carrying everything at the top.
- Main shaft. Transfers the rotor’s slow, powerful rotation inward.
- Gearbox. Steps the slow rotor speed up to the speed the generator needs.
- Disc brake. Holds the rotor still for maintenance and in extreme wind.
- Generator. Converts mechanical rotation into electricity.
- Controller. Matches output to the grid and shuts the turbine down safely.
- Anemometer. Measures wind speed and direction so the turbine can respond.
- Nacelle cover. The weatherproof shell enclosing the drivetrain.
- Hub. The casting the blades bolt onto.
- Three blades. Each works like an aircraft wing, generating lift that turns the rotor.
What happens when you finish
Placing the final blade starts the interesting part. The camera pulls back, the rotor begins to turn, and a live simulation appears.
Move the wind speed slider and watch rotor speed and power output respond in real time. You will see the turbine cut in at around 3.5 metres per second, reach its full three megawatts at about 12, and shut down for safety at 25. That is not a fault; it is exactly what a real turbine does to protect itself in a storm.
Click any part of the finished turbine to open its information panel: what the component does, realistic specifications, and the engineering that makes it work.
At full output, a turbine of this size produces enough electricity for roughly nine thousand homes. Getting a feel for what that depends on is the whole point of the exercise. The figures throughout are typical ranges for UK onshore turbines of around three megawatts, chosen to show the principles clearly rather than to describe a specific product.
Using a keyboard
The whole build works without a mouse. Press Tab to reach the highlighted part, then Enter to select and place it. Arrow keys pan the view, + and - zoom, and 0 resets it. Once the turbine is complete, the Explore parts button in the toolbar opens the information panel, and you can move between components from there.
Ready? Start building above.
Reset at any time from the toolbar to build it again, or try a harder mode with fewer hints.
About this infographic
This piece is published for information and entertainment. It is a demonstration of what an interactive infographic can do, and it is not a commercial product, a sales tool, or a technical reference.
The turbine shown is a generic illustration of a modern onshore machine, not any particular manufacturer’s design. The specifications, power figures and physics are simplified to typical values for teaching purposes, and real turbines vary considerably by site, model and conditions. Nothing here should be relied on for engineering, planning, procurement or investment decisions.